GTM - Serve Primis tag with GTM (Google Tag Manager)
In the following guide you will learn how to serve Primis tag with GTM.
Instructions:
Extract a hardcoded from the Primis platform, we will need it for later steps.
In "Google Tag Manager" go to “Tags” and then press New:
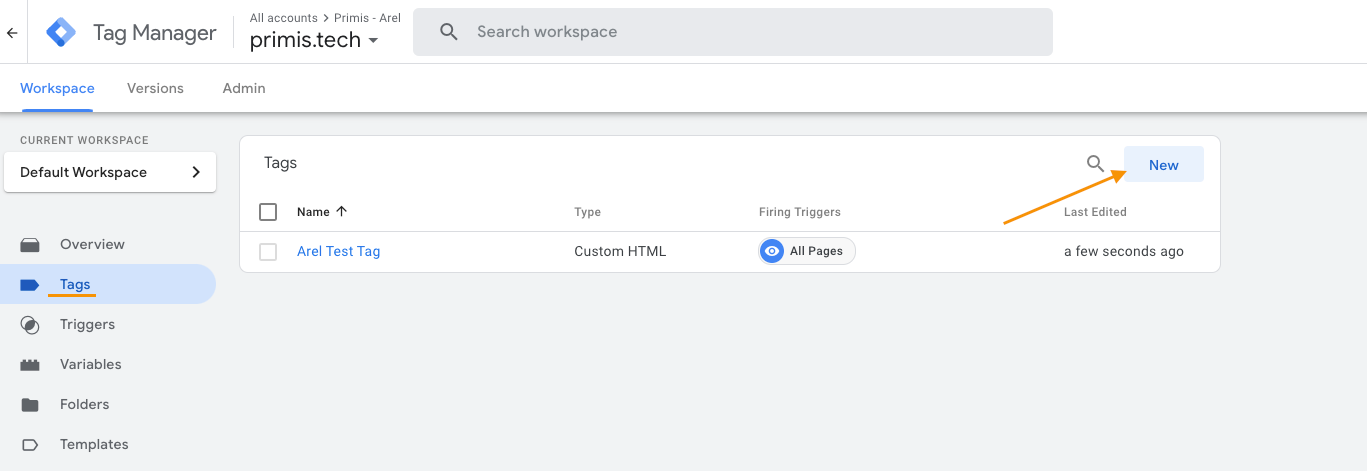
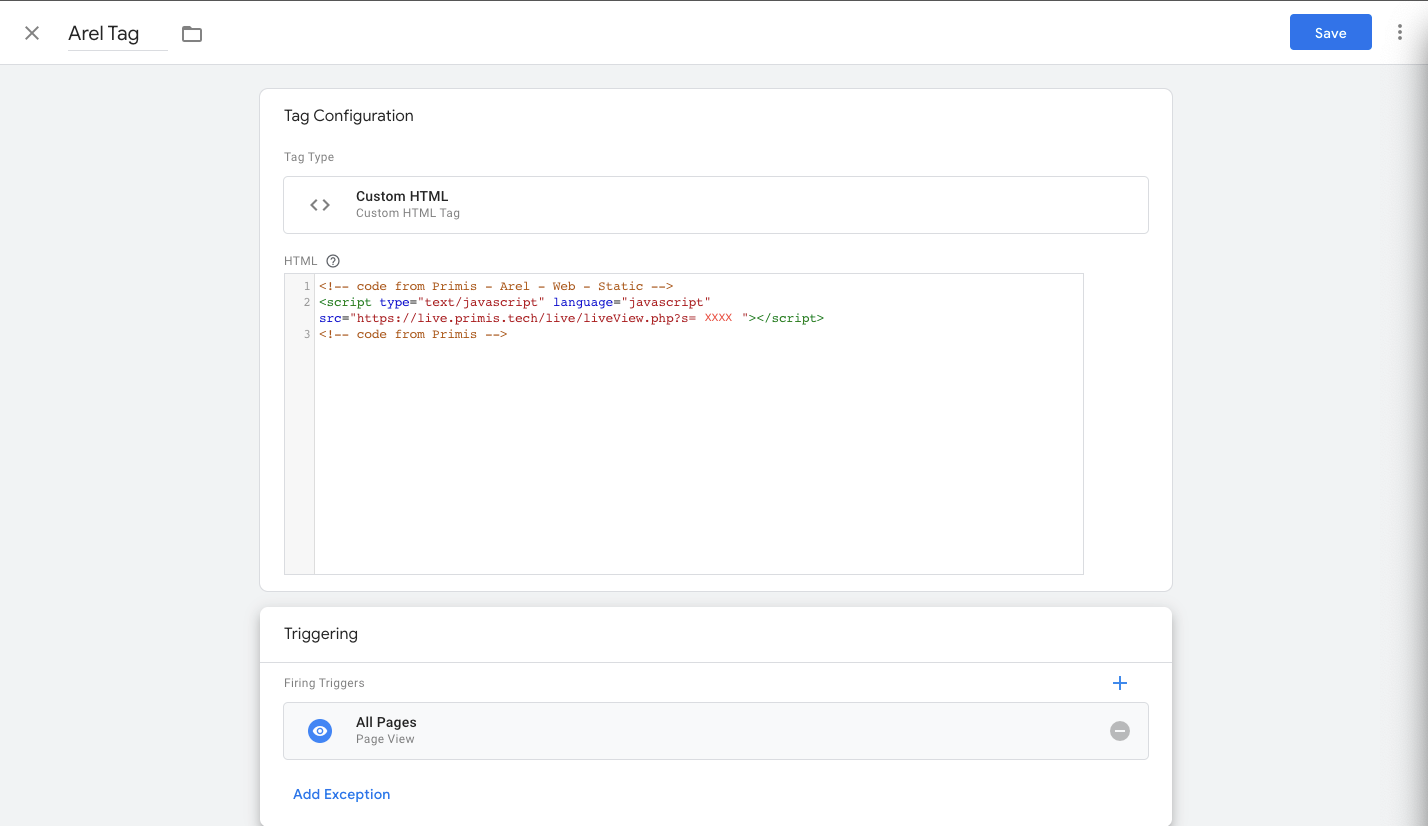
set a unique name for the tag.
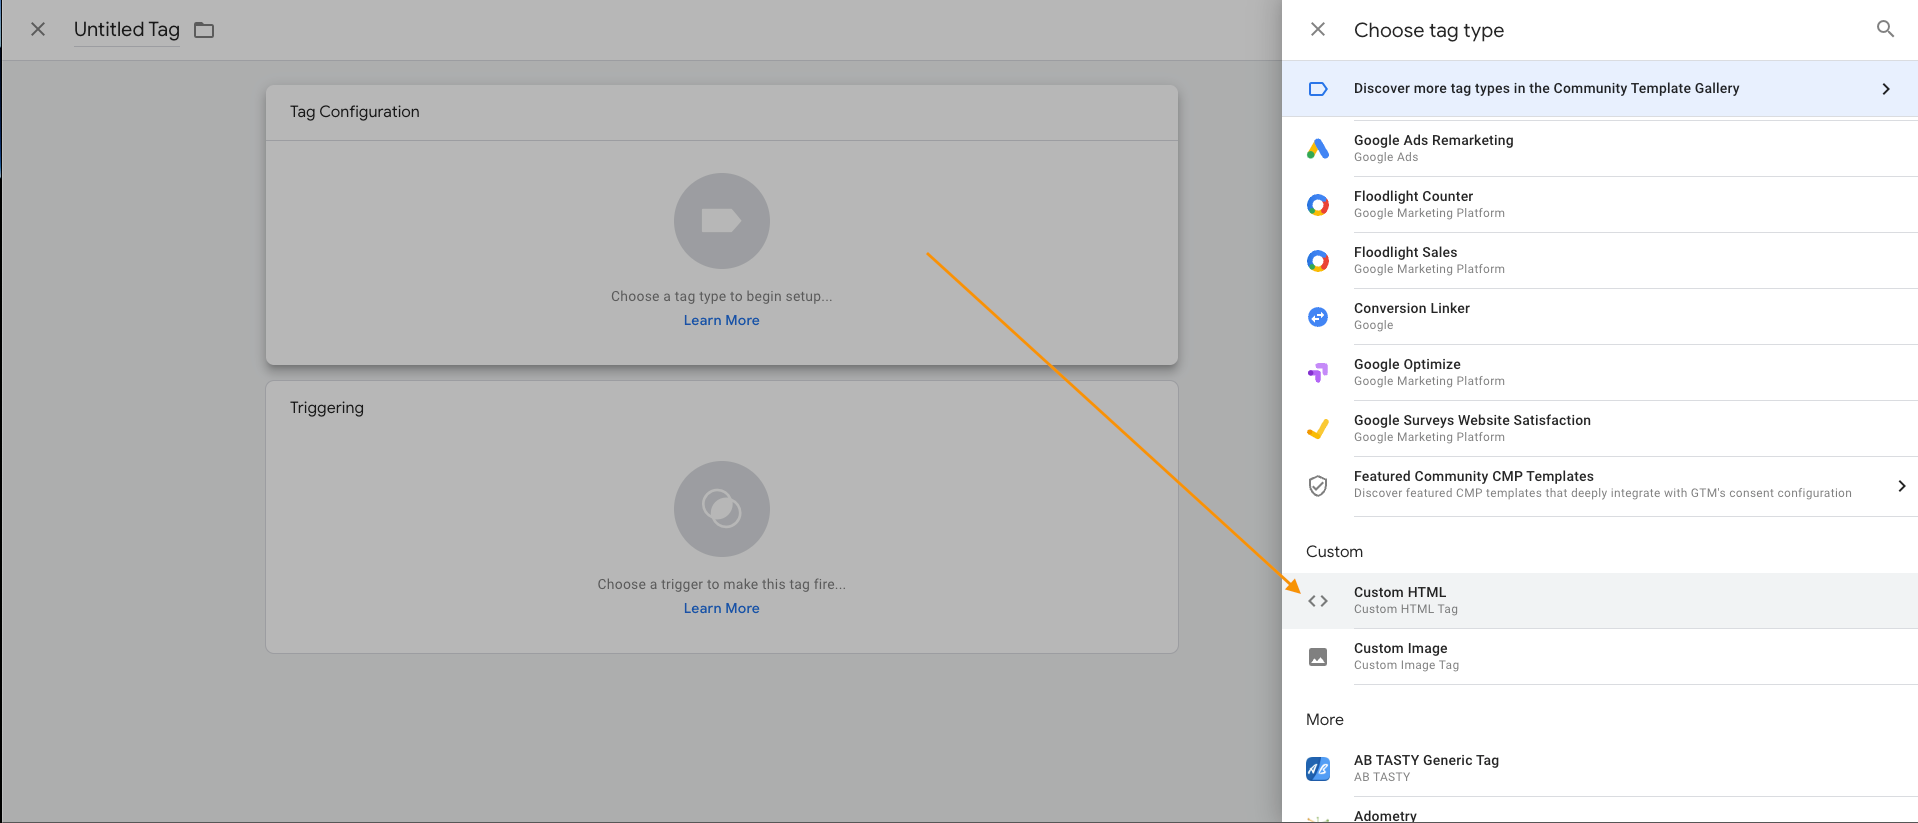
Click on Tag Configuration and choose the option “Custom HTML”
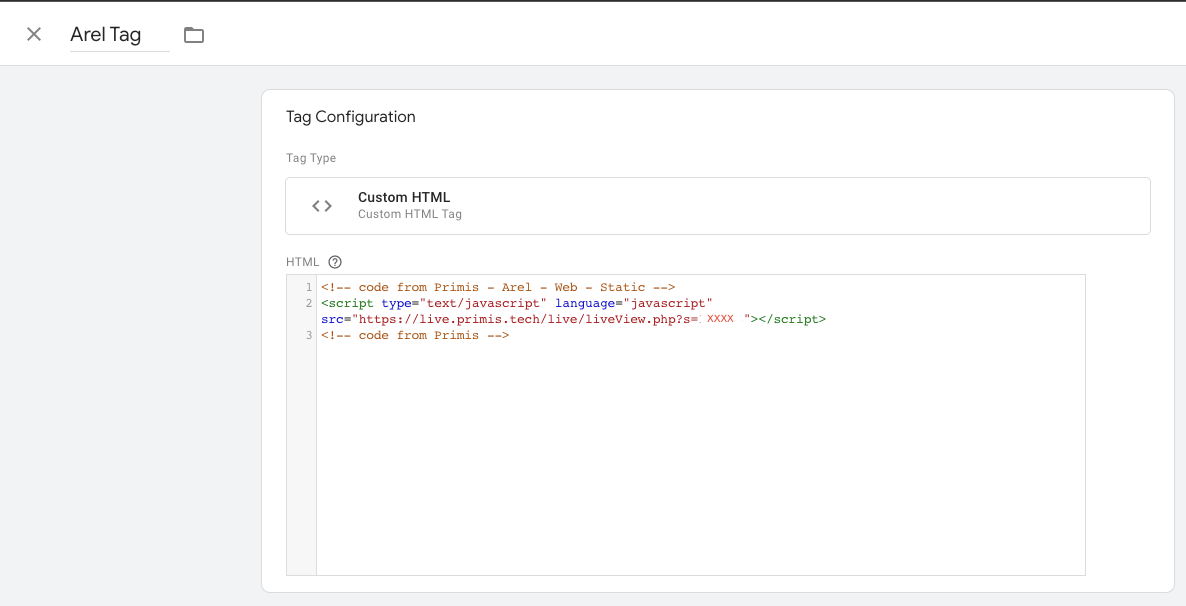
Inside the HTML, place Primis Tag:
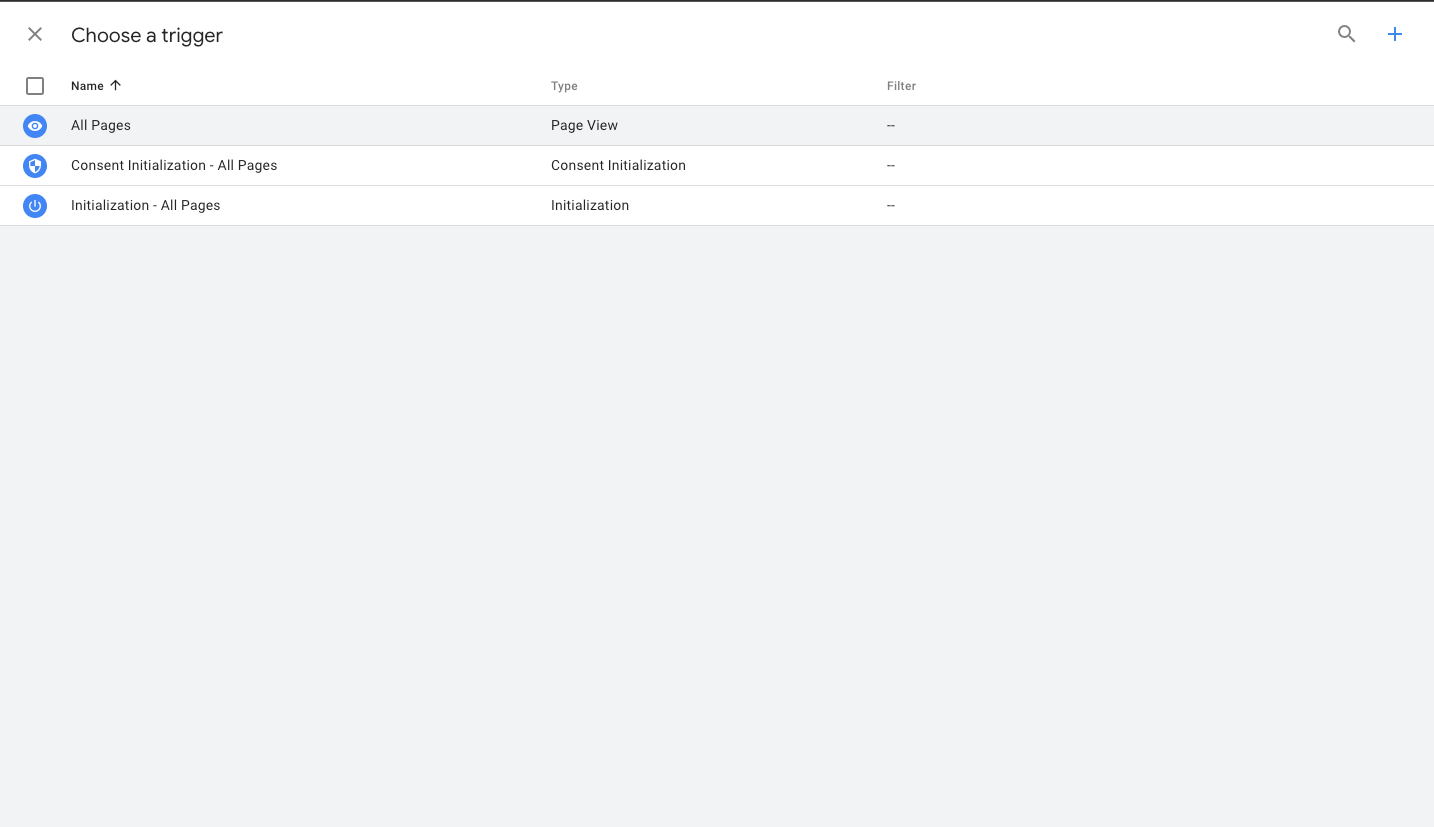
Click on “triggering” and choose “All Pages”:
After the last two steps, the tag should look similar to the next:
Click on Save at the top right.
Go to Workspace -> Overview and click on Submit
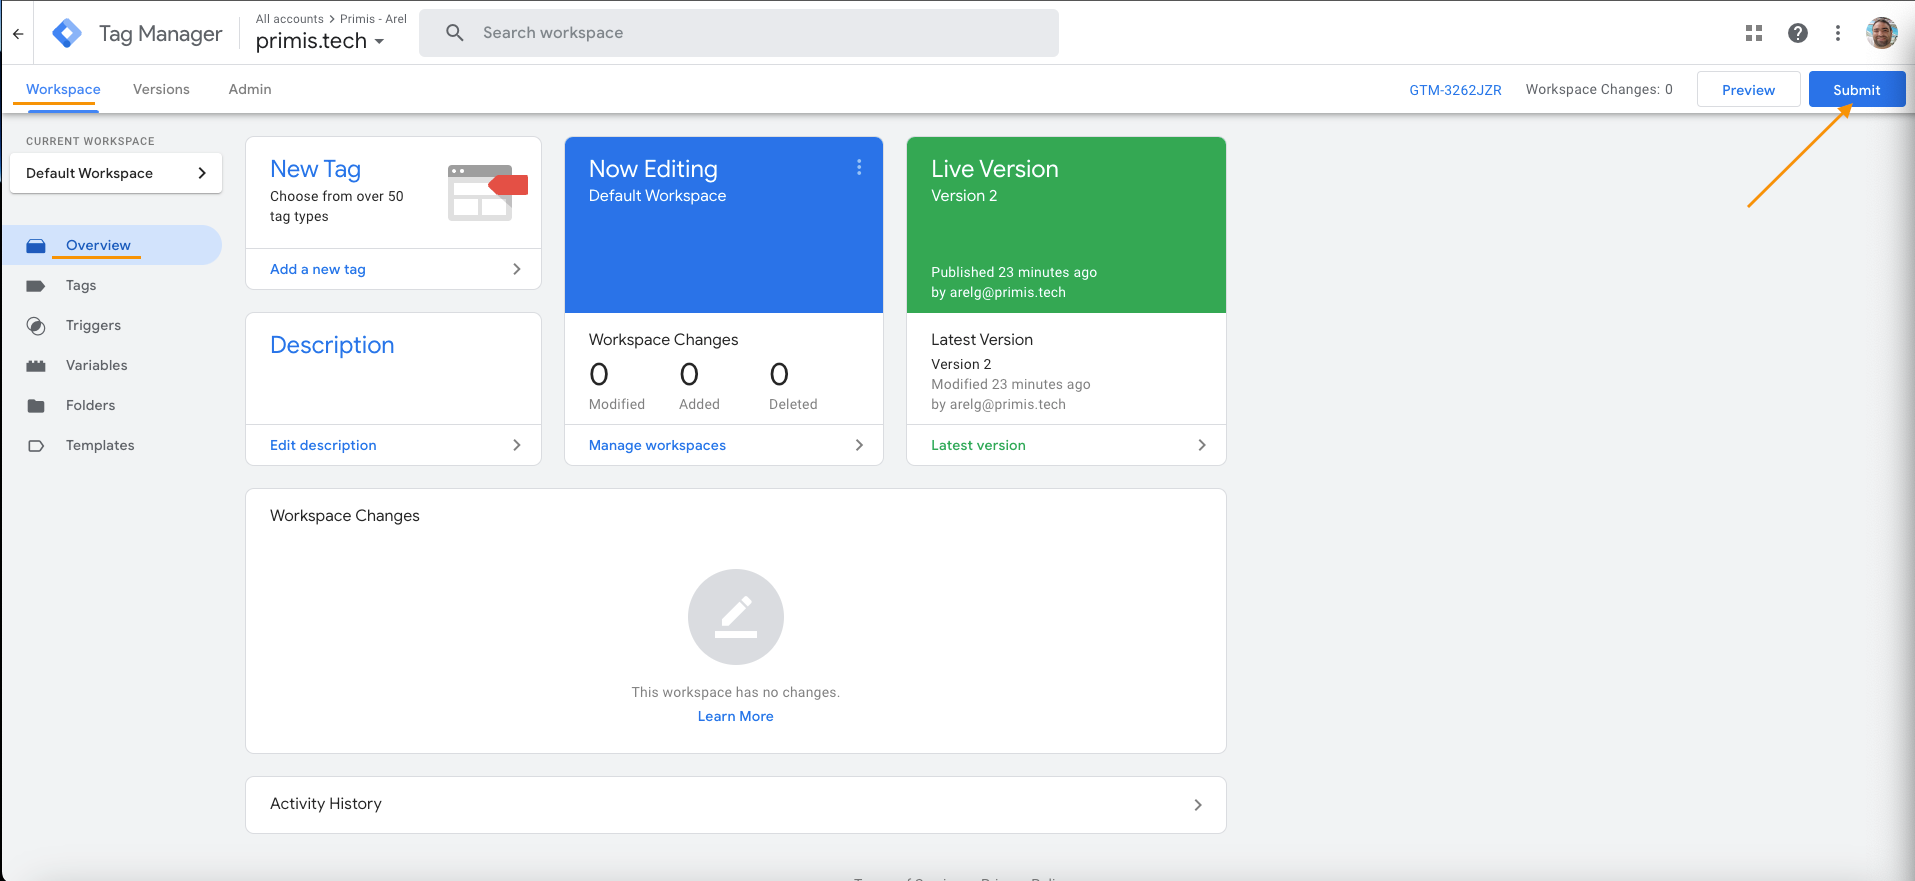
Click on Publish at the top right and then continue.
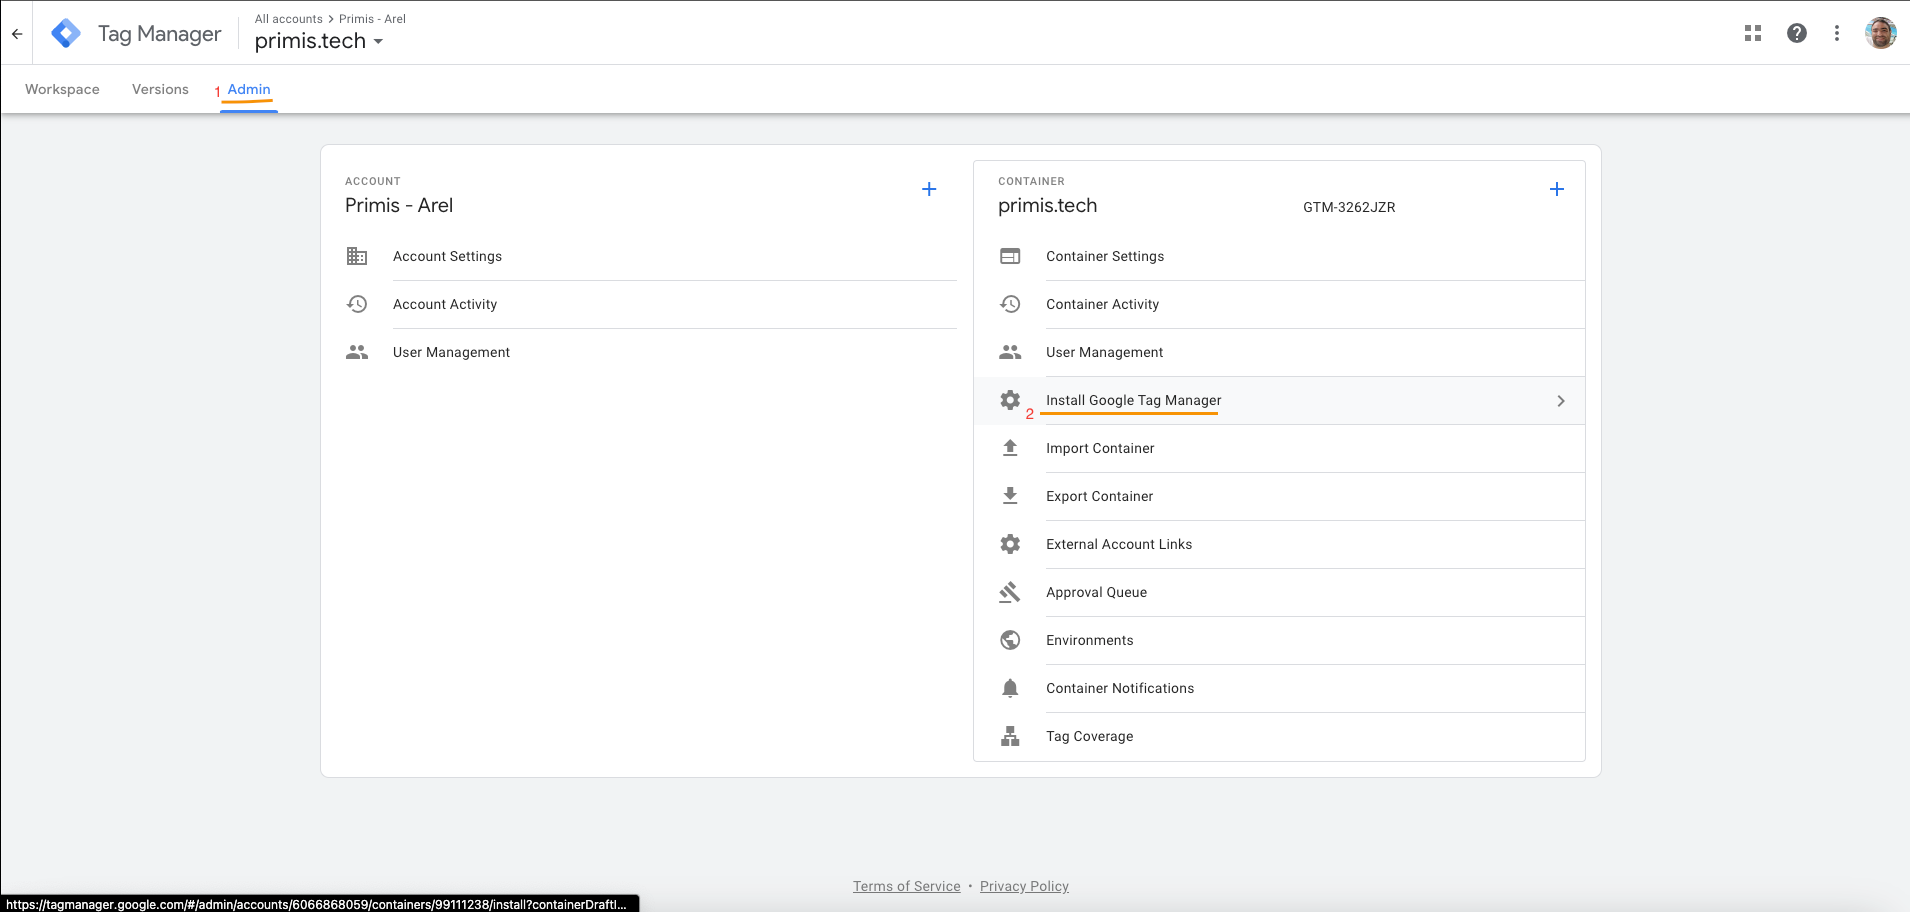
Go to Admin tab and click on “Install Google Tag Manager”:
You will see the following page:
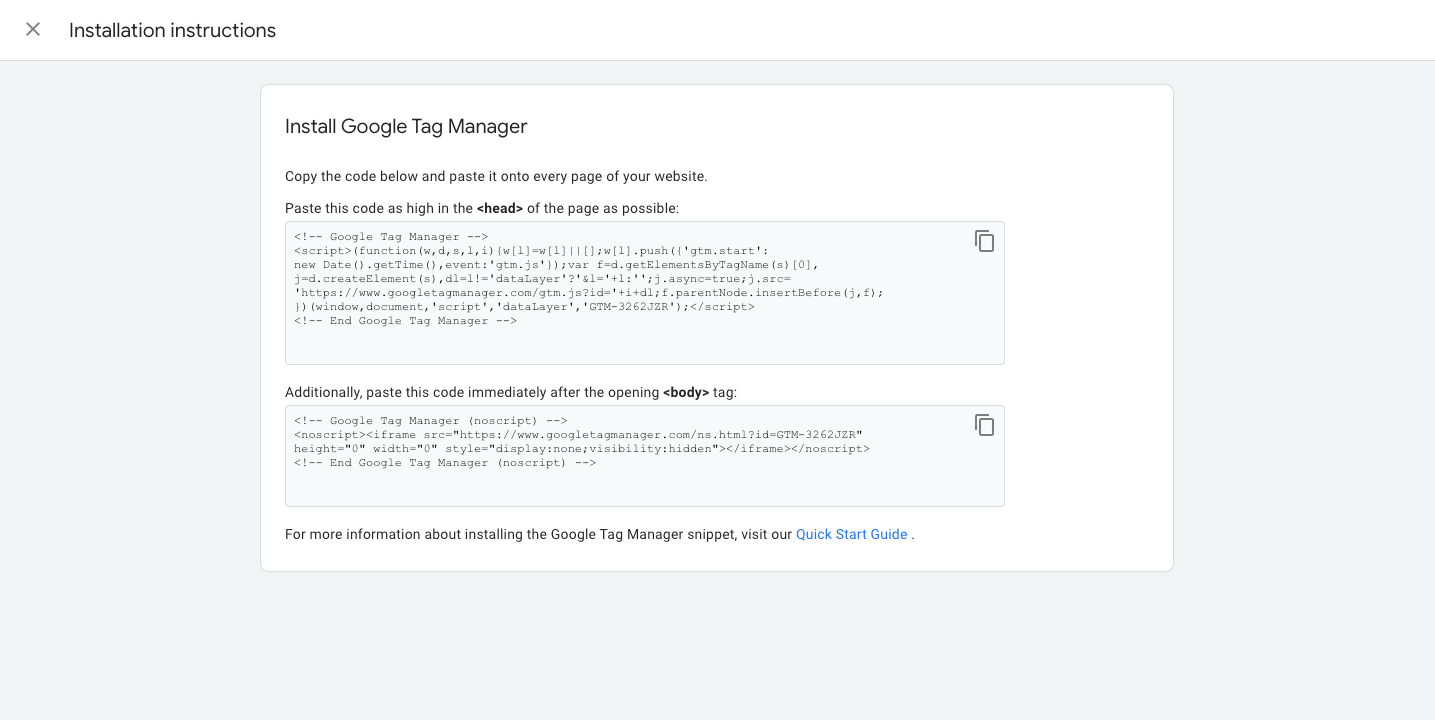
The first block of code<head> tag implementation:
On the <head> section of your webpage, Copy the first block of code and paste it on your webpage.
The second block of code<body> tag implementation:
Immediately after the opening <body> tag, Copy and paste the bottom code and place it, inside your webpage.
After the above implementation, run the relevant web page and the Primis unit will appear upon the GTM tag call
Update tag:
If you want to update the tag, add params or something, you will need to publish every time to new version in order to see the changes.
Location:
According to GTM documentation as for 21/12/2022 GTM always put “Custom HTML” at the end of the body.
In order to relocate Primis unit, you will need to do “dynamic config” to place the unit at the desired place.
Updated 8 months ago