Channels
Video Channels are the way to keep and organize your video content. Each channel contains a list of your uploaded video files.
In Channels you can view and edit your channels, or create a new channel.
Create a New Channel
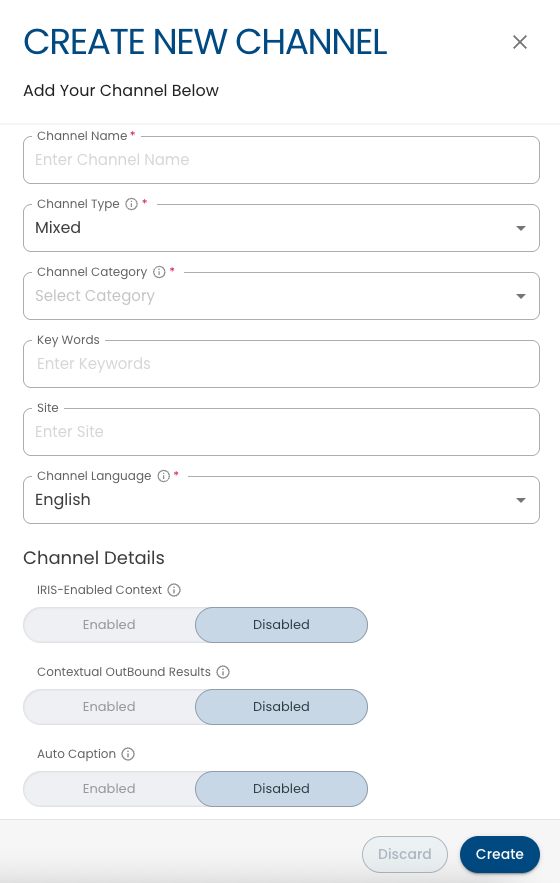
- In the Channels page, click Create New Channel.
- Enter a name for the new channel.
- Select a category that best describes the channel.
- Enter relevant keywords.
- Specify the channel languages.
- Turn on/off the auto caption features, and the IRIS-enabled™ context option.
Auto Caption SupportPrimis boasts the unique feature of being able to auto caption videos. When a video is uploaded to the system, Primis also uploads the video transcript. If the auto-caption feature is enabled, the captions are displayed alongside the video.
IRIS-enabled™ SupportIRIS enables the world’s video advertising ecosystem to access contextual data at the video level so that marketers can target consumers at the exact right moment.
- Include/exclude contextual outbound results. If you include contextual outbound results the channel will be added to the video library search engine.
- Click Create. A message informs you that the channel has been successfully saved.
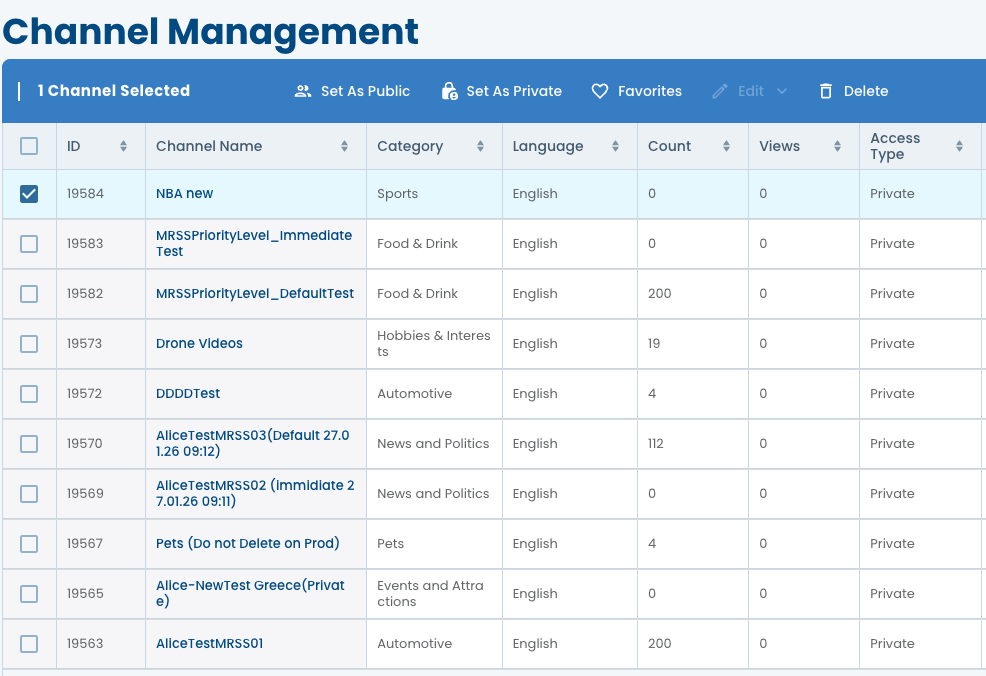
- You can further edit the channel, delete the channel, or in the Actions Bar by selecting the channel check box or by click on channels name.
Add Videos to a Channel
In the Actions Column click the upload icon
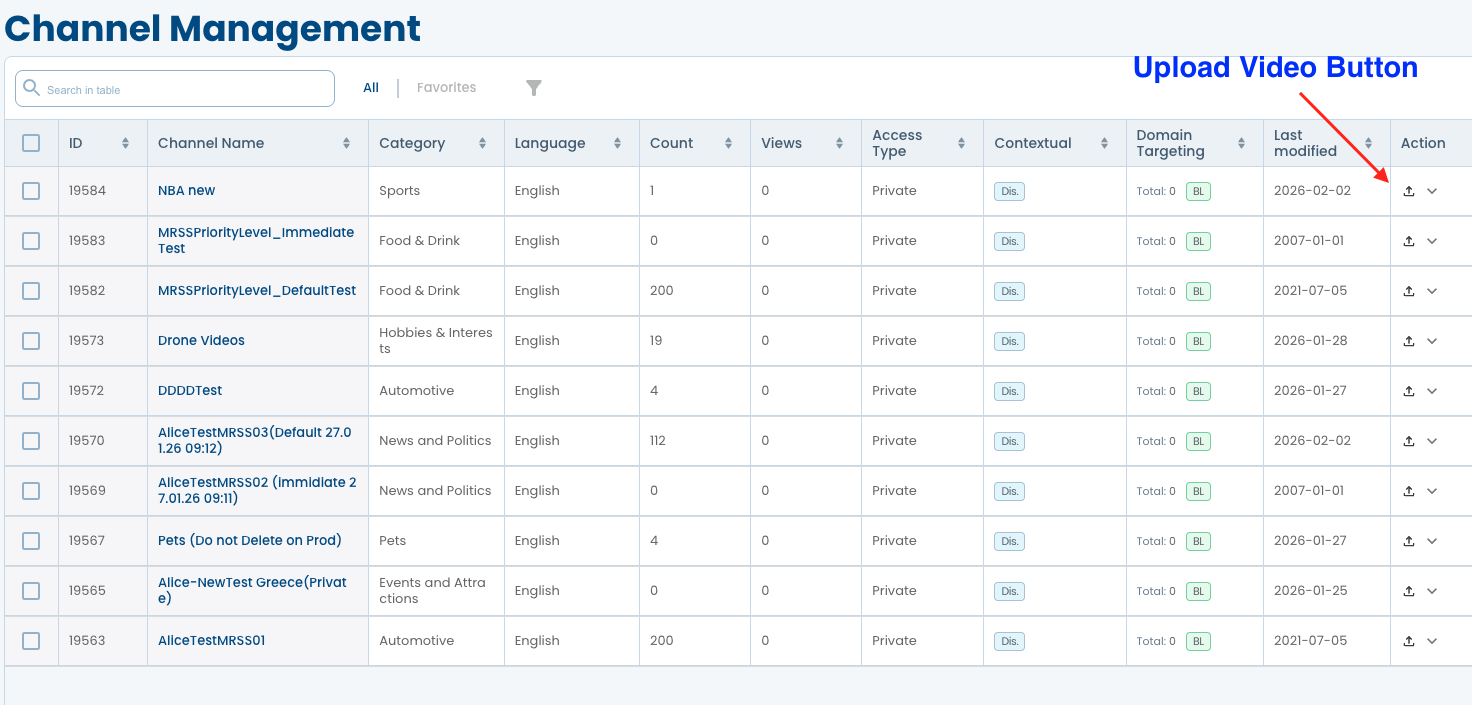
- Select the desired file.
- Wait for the end of upload by the system.
- When finished, enter the description, keywords, click URL, custom parameters.
Uploading Video CriteriaUploaded videos must meet the following criteria:
- File type must be MP4
- File size must not exceed 1.5 GB
- Video length must be longer than 30 seconds
- Do not duplicate content titles - each video should have its own unique title
- Click Save once you filled all desired fields.
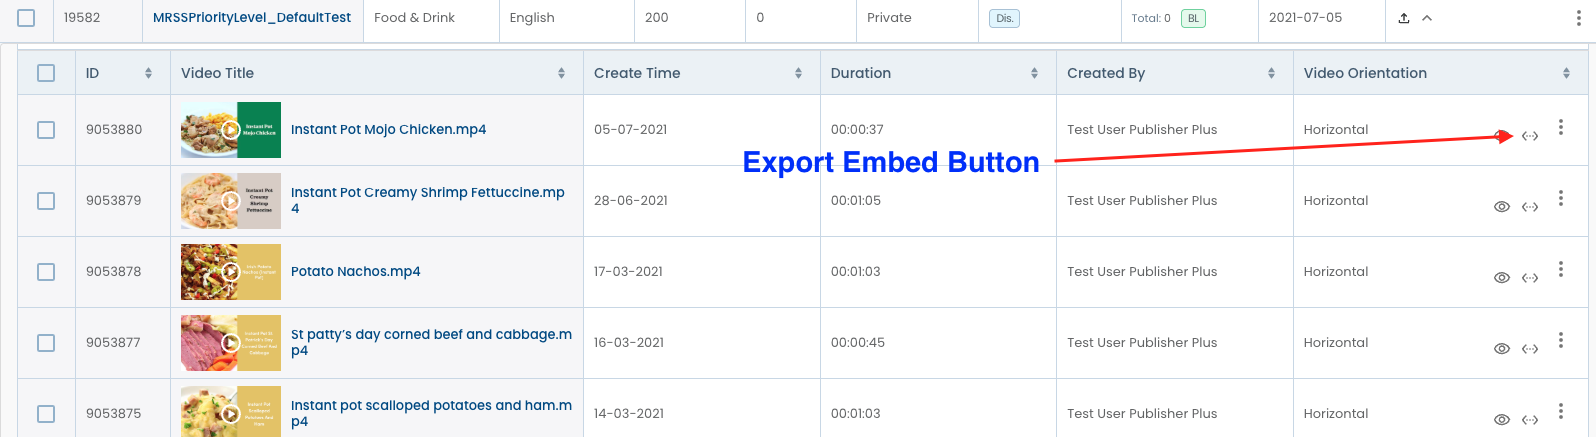
Copy the embed code
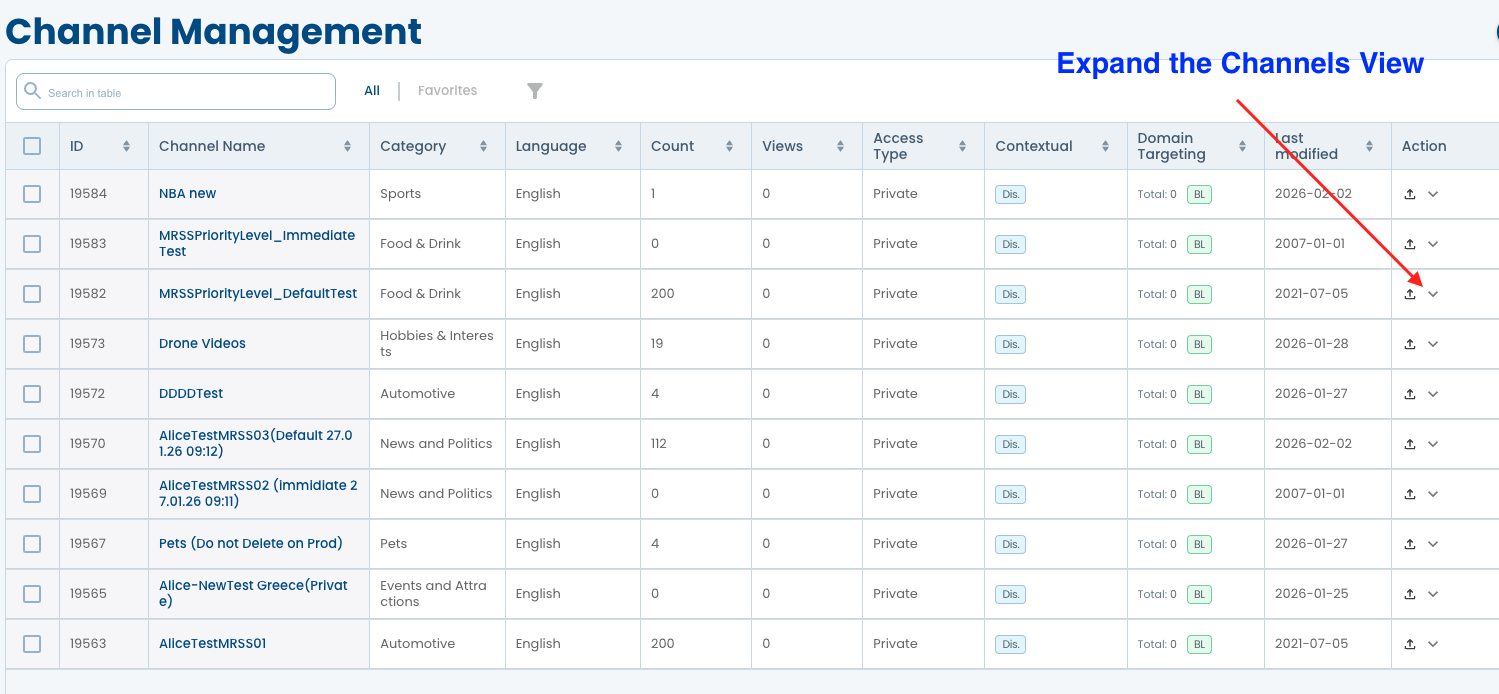
- Click the Arrow button to expand the channels view and open the Video table with all videos inside the channel
- Click on Embed button
- Select the tag format
- Choose the player associated placement
- Click Copy or **Download"
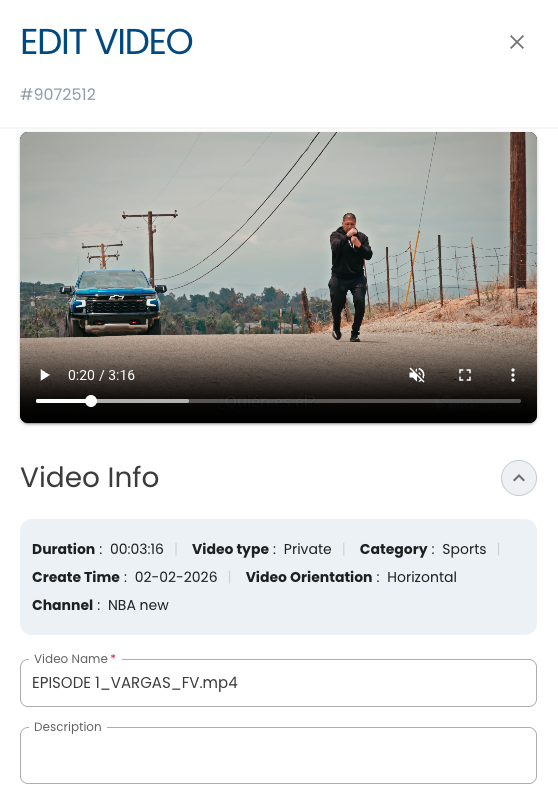
Edit Video
Add video properties to your uploaded videos to keep your video library better organized.
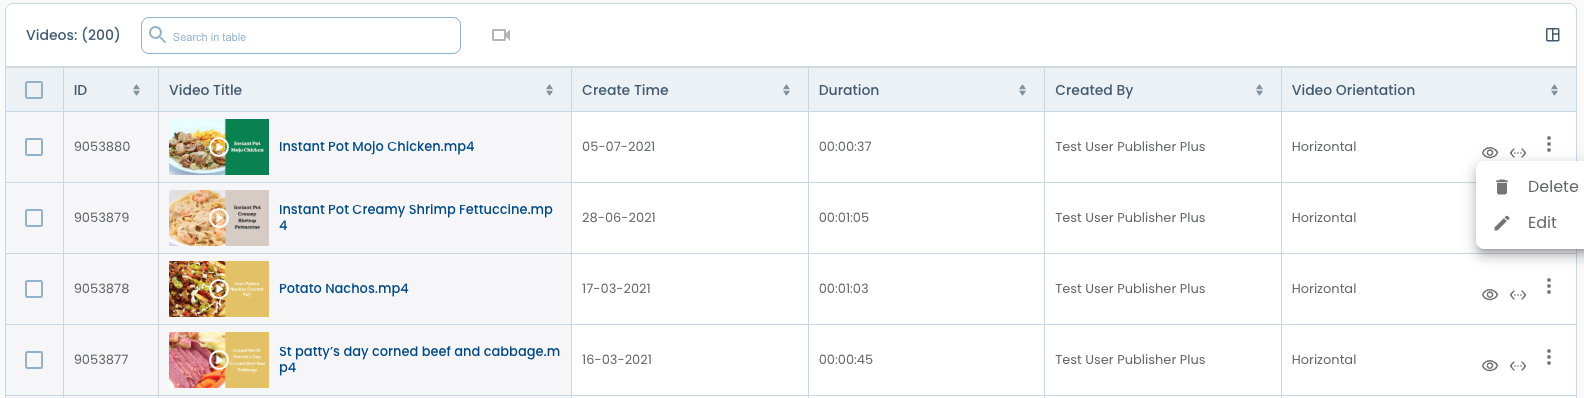
- Expand the channels View
- Click the video name, select or chose the Edit Video in the 3 dots menu.
- In the Edit Video form, you can playback the video, and add/edit the following video properties:
- Video title
- Cover image
- Description
- Click URL - matching a specific video with a specific URL, forces it to play first for this page.
- Keywords
- Video's beginning and end dates
- Custom Parameters
- After editing the video, click the Save icon. A message informs you that the video properties have been successfully changed.
Delete a Video
- Choose the check box near the video name or click the 3 dots menu.
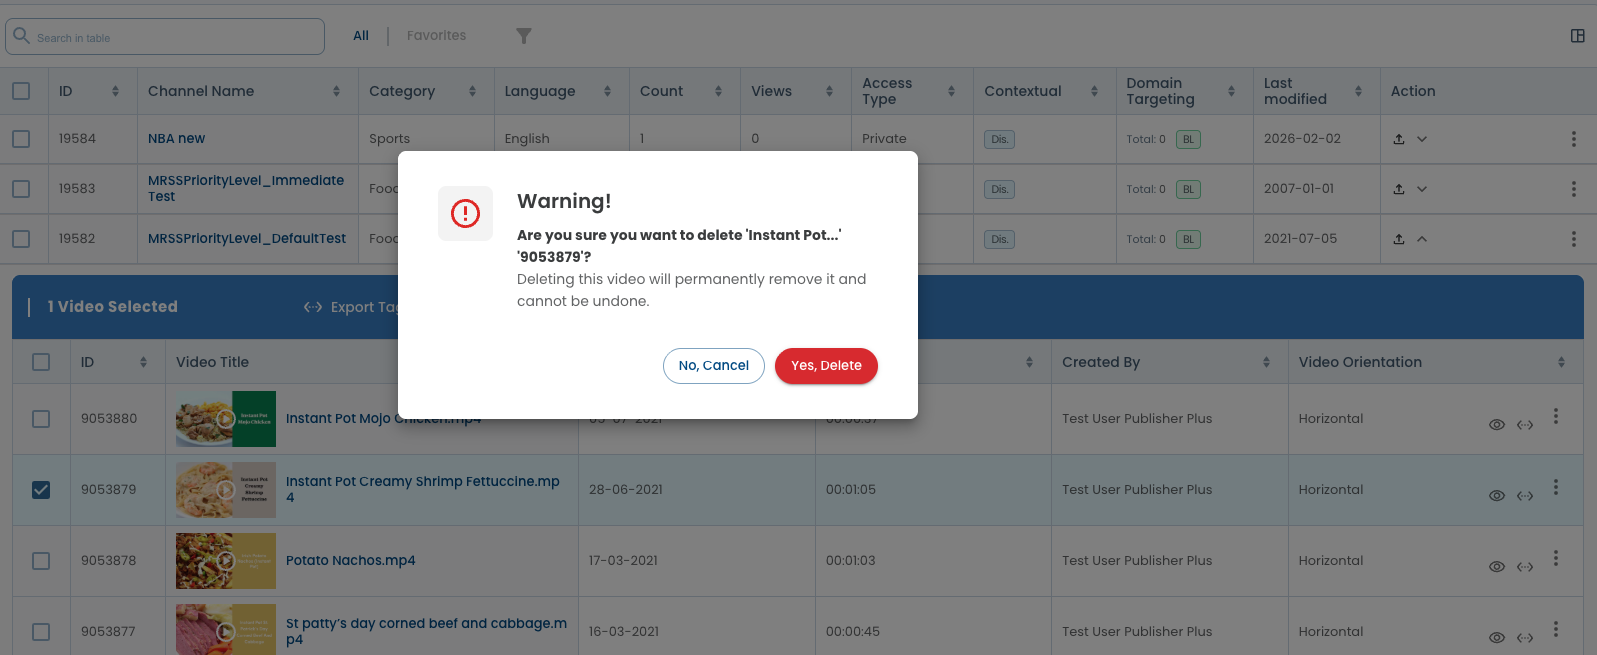
- Click Delete Video.
- When prompted, click Yes Delete. The video is deleted from the channel.

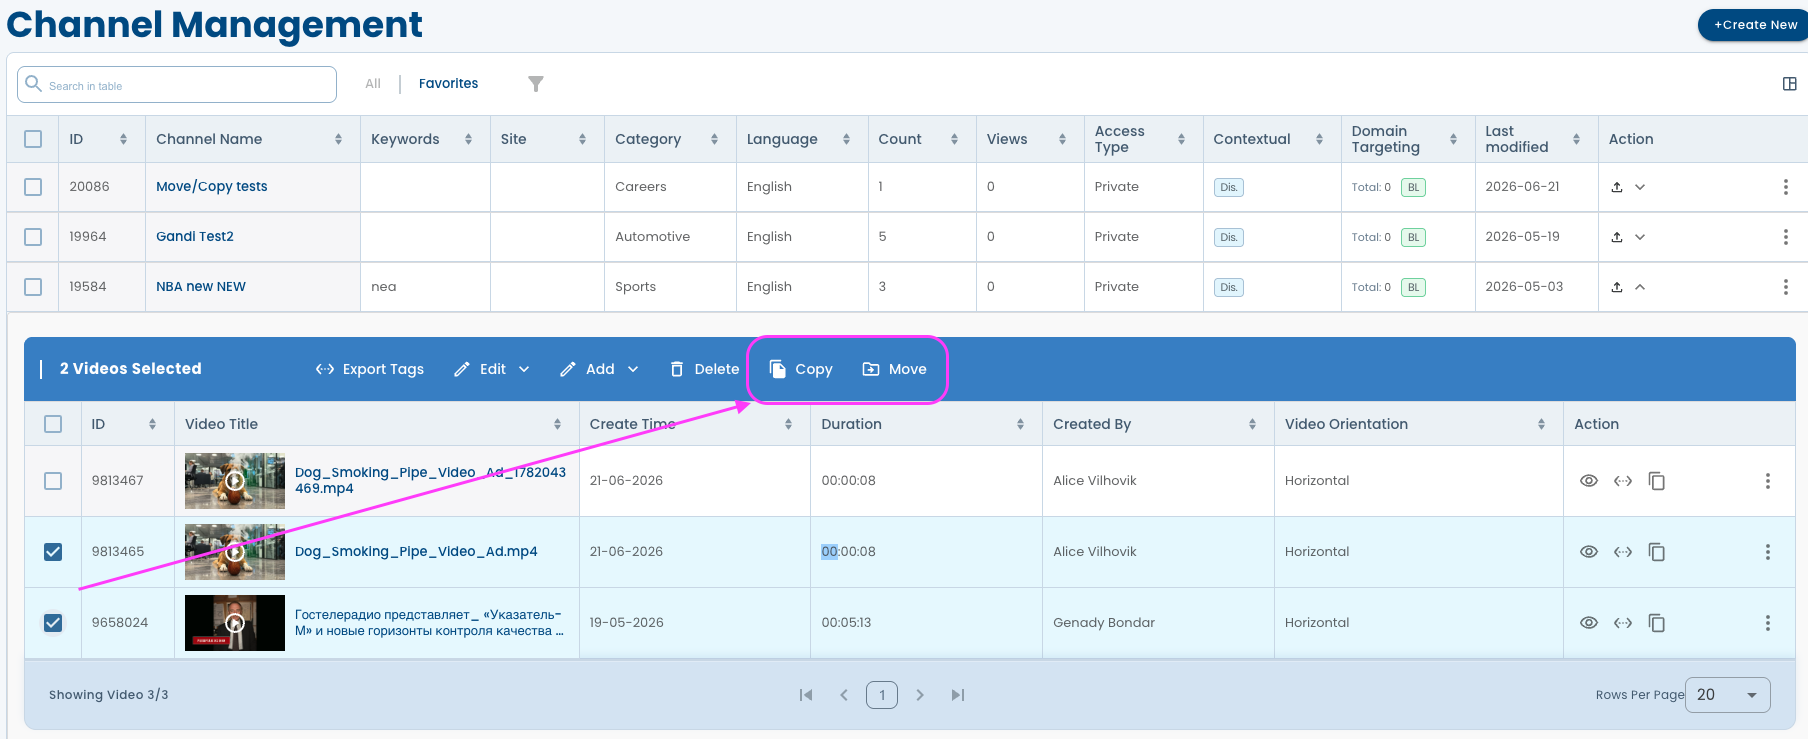
Move or Copy Video from channel to channel
- Copy Video from channel to channel
- Choose a single or multiple videos
- Click Copy on the action bar
- Choose the target channel
- Click "Yes, copy"
- Move Video from channel to channel
- Choose a single or multiple videos
- Click Move on the action bar
- Choose the target channel
- Click "Yes, Move
Copy video will create a new PrimisId (videoid) with the same Video file and Video metadata in the target channel . Move video will preserve the PrimisId with the same Video file and Video metadata in the target channel
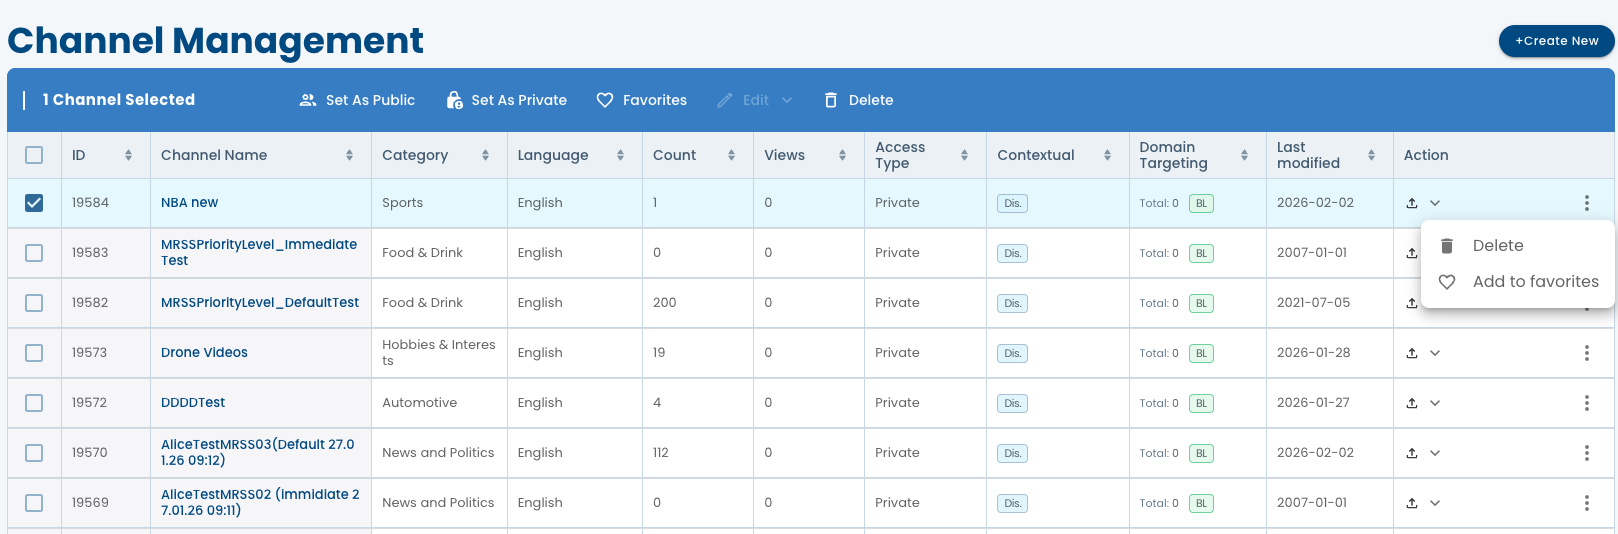
Delete a Channel
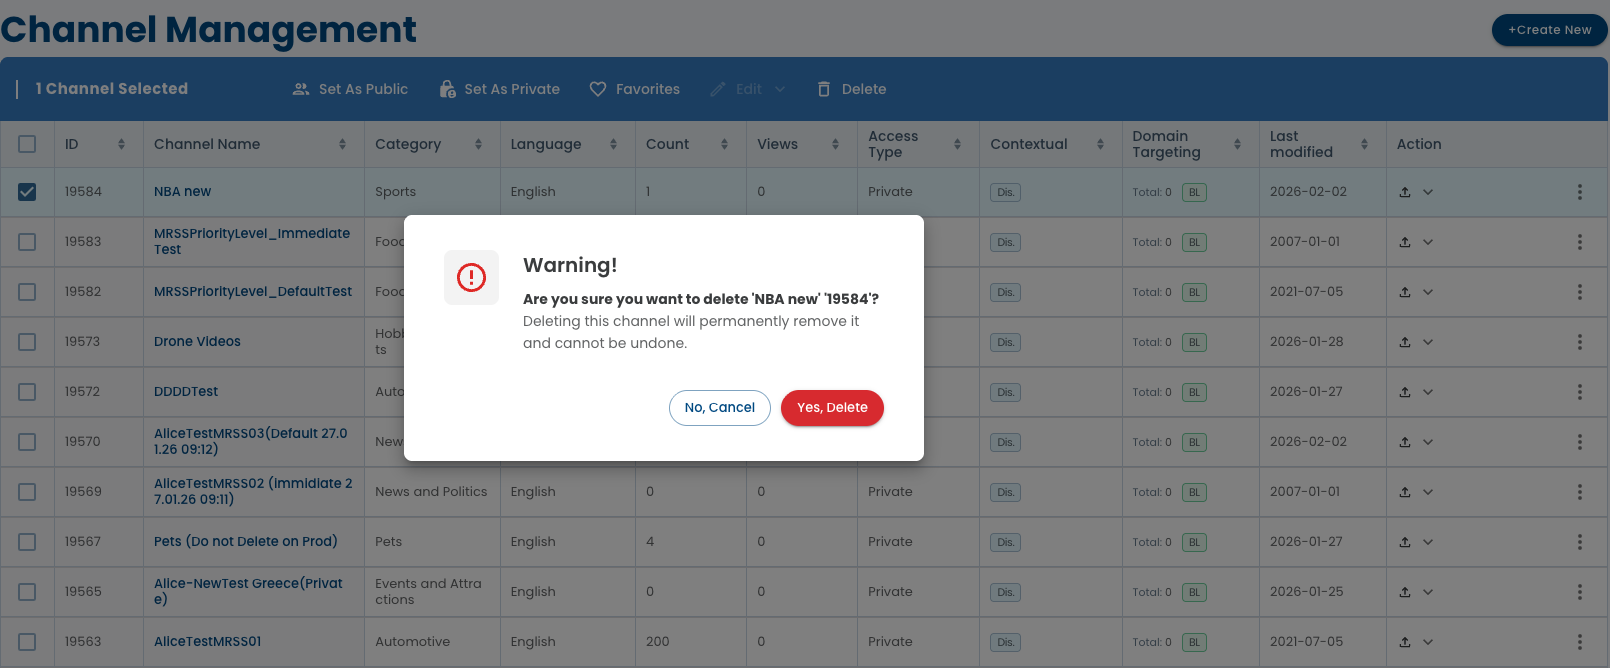
- Choose the check box near the channel name or click the 3 dots menu.
- Click Delete Video.
- When prompted, click Yes Delete. The video is deleted from the channel.
Updated 27 days ago